Showing posts with label poker table. Show all posts

Sunday, February 22, 2009

Poker Table #4

My latest and I think Best Octagon poker table so far. This one I started with the full intention of building it in a kinda old western type style. It was quite different because in order to get put the rail all the way around it, I had to borrow a sewing machine. This was quite an interesting learning experience. But in the end I absolutely love the way the table turned out. Unfortunately, Now I am table less again. That's ok though, my next table is going to be quite contemporary and hopefully will be my own personal table ;)

Here are a few pics of table #4 before it was sold.


Saturday, January 5, 2008

Poker Table #3

If I'm allowed to say this, I think this was my best poker table yet! I had decided I wanted something that was unusual and different... Something perfect for home games, but unique enough to call my own. So, I came up with attempting an Octagon shape, but I was unable to find one that had the excellent soft cushions that I liked on the oval tables. The final outcome was difficult, but I think it worked out perfectly! I ended up with a table for 8 that was big enough to fit 8 people very comfortably, with nice soft cushions. The most tedious part was putting together the 8 individual cushions. Unfortunately before the table was even complete someone wanted to buy it.. But for the record here is a pic of the unfinished table with a full 8 people on it


and the Final Product..


Man, I really miss that table....

Saturday, October 14, 2006

Poker Table #2

So, After building the first table... I had a request from the same estabilishment to build a second table, since the Sunday games had a boost in players. This time i toook a few more pics.. I followed most of the same things done at this url and there are many others here.
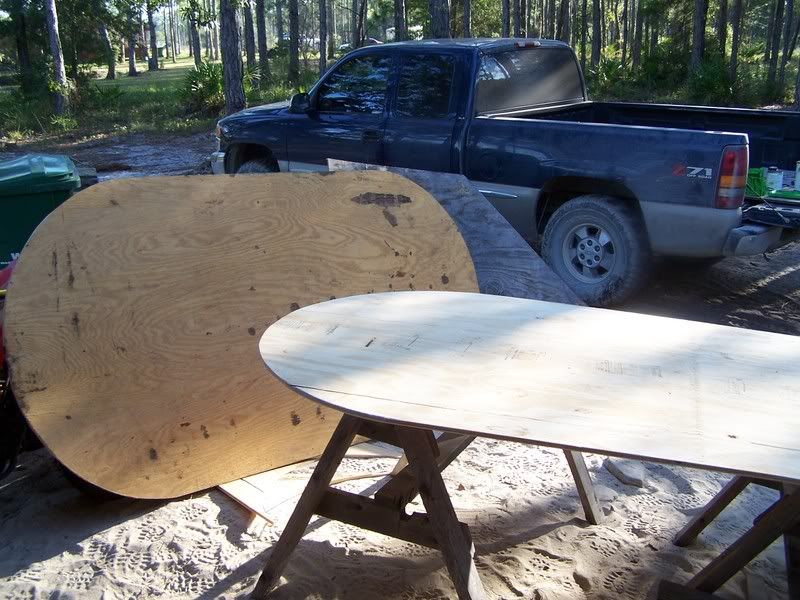


Nothing too hard here, just rounded the corners off.
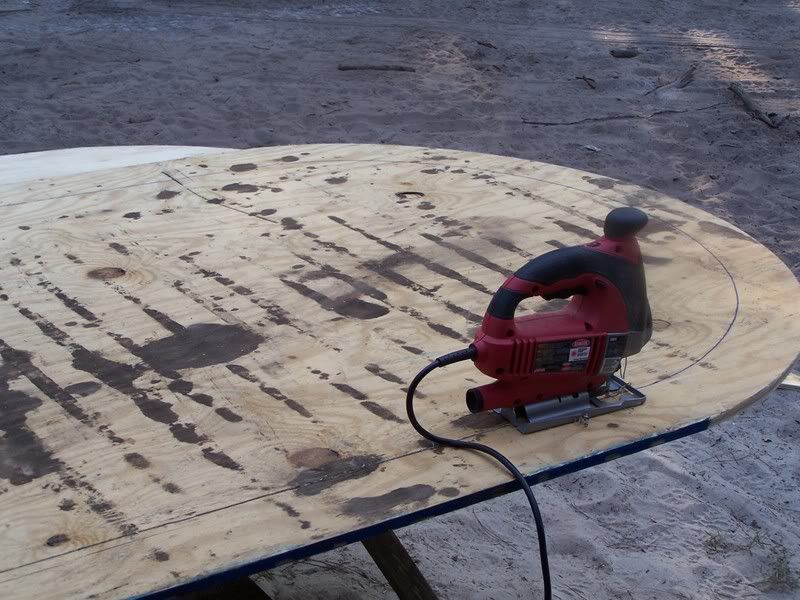


Cutting out the 4" rail from what will be the bottom part of the table. This will be the one that also gets the folding legs attached to it.
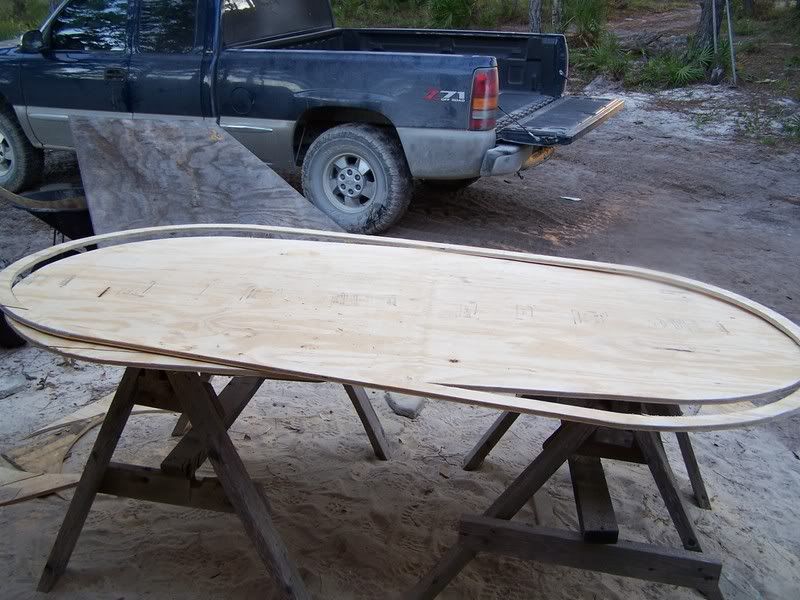


Cutting out a 2" rail out of the playing surface, this will mount to the bottom of the 4" rail so it will fit perfectly to the playing surface later. Most others have only cut this 1", This seems crazy to me. why cut only a 1" rail? It's going to be way to fragile, you'll have to glue it to the 4" rail, and you know it's probably going to break on you. Instead I cut this 2", your not going to loose any play area since its covered anyway, plus #6x1" drywall screws hold it perfectly, and i don't have to wait for glue to dry.
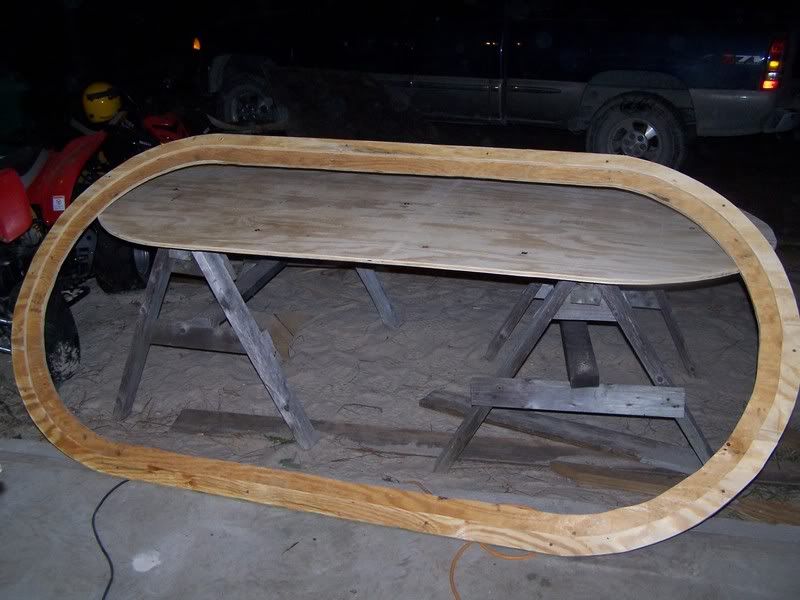


Here is the assembled rail..
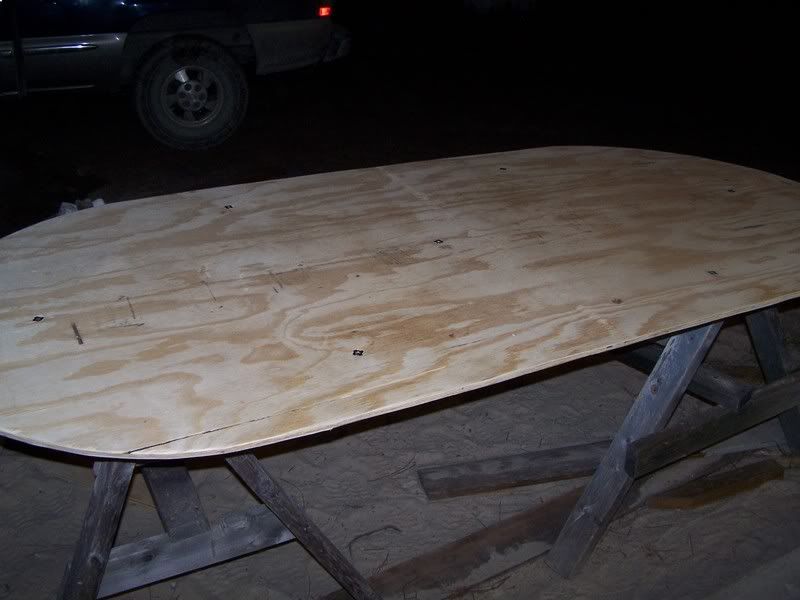


I went ahead an from previous experience found it better to go ahead and mount the T-nuts to the bottom half. This way it pulls them flush agains the playing surface. In my first table until i mounted the playing surface there were bumps in the cloth. This eliminated that and I was pleased with the results later.
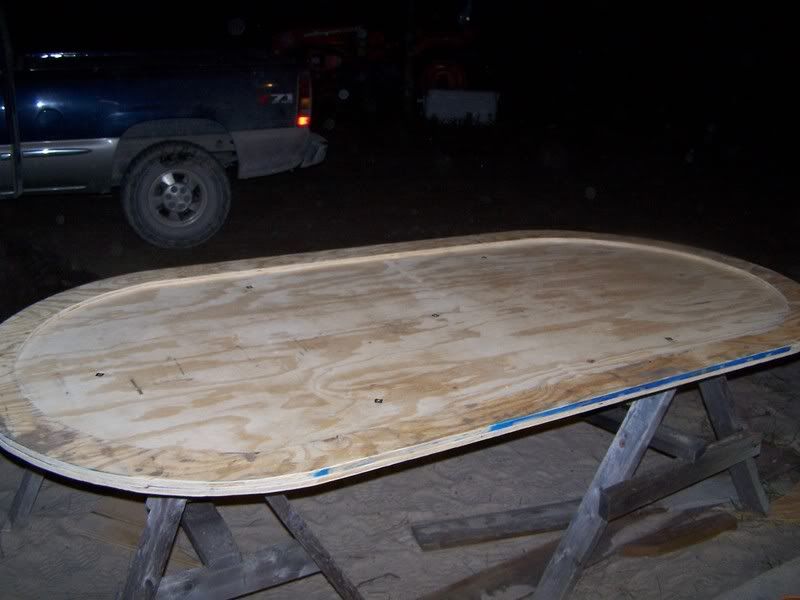


Testing the fit of the assembled rail and playing surface. Also took a moment here to mark one side so i would know witch way to put it on later.
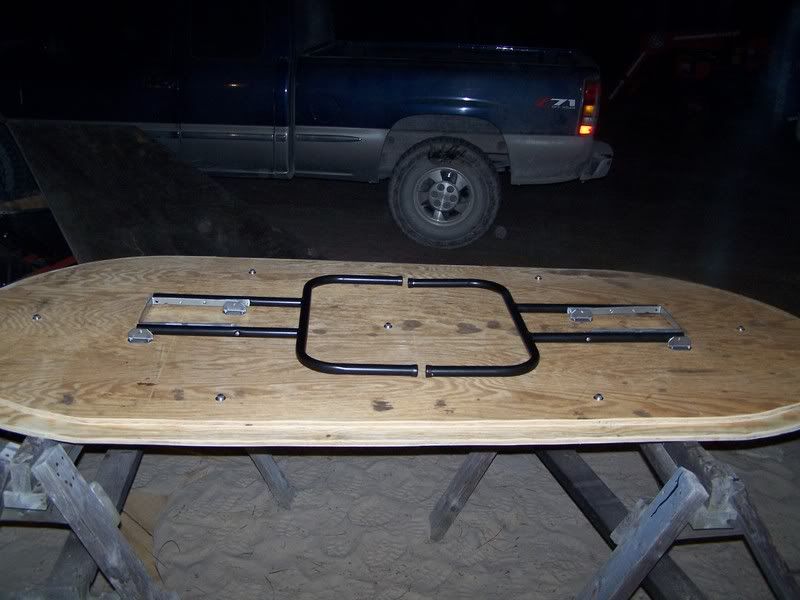


Mounted the folding legs to the bottom half.
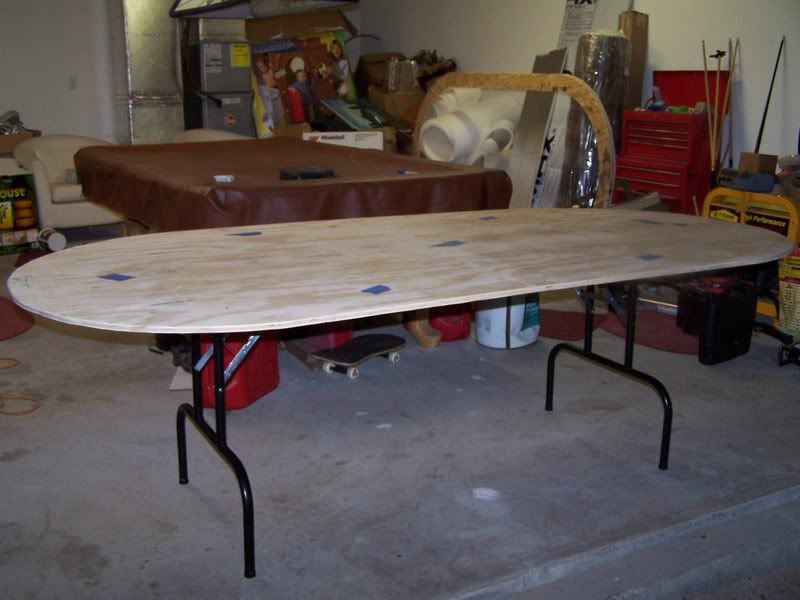


Whahoo, it's now standing on its own 2 legs.. haha.. Next up.. foam, but before that I took some masking tape and covered the T-Nuts. This will help keep it slightly smoother, and keep the spray adhesive from getting on the bolts.
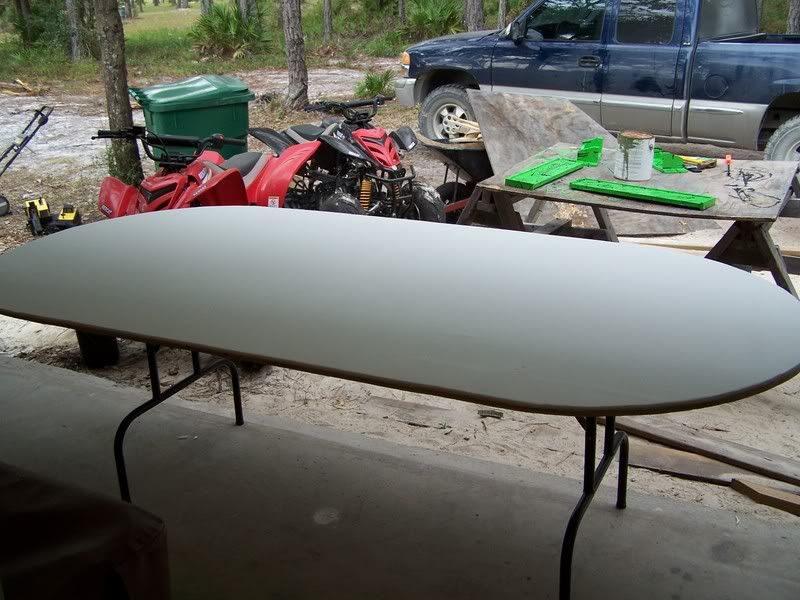


Foam Cut and ready for the cloth. Again this process it pretty well documented by others out there.. Just layout the foam, lift one side, spray down the adhesive , roll foam down working out the bumps, then repeat on the other side..
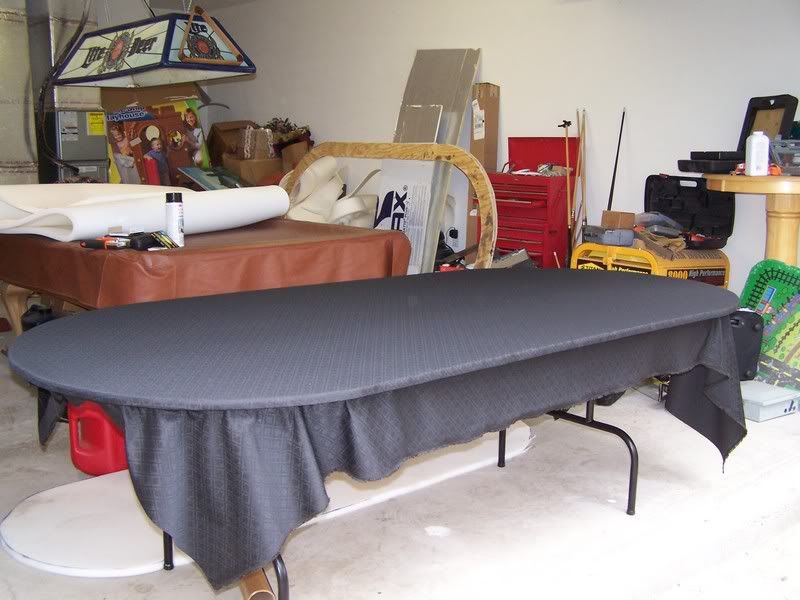


This was pretty easy, even for one person. I started on each side in the middle and just worked towards the curves. Then once on the curves I started in the center of the curve, then split that in half and worked backed towards the center. You don't have to really pull it tight, just keep the creases out and it will be nice and snug when your done.
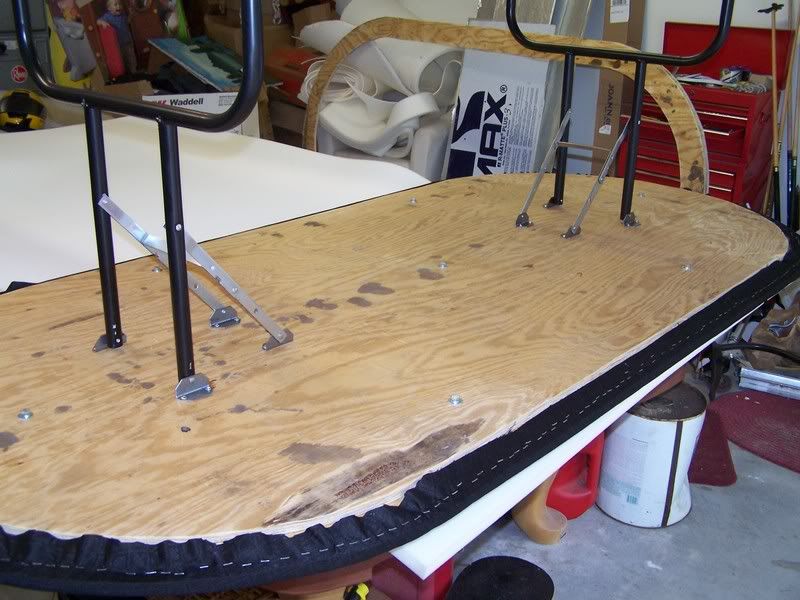


Cloth finished and trimmed. Dunno about other people, but my stapler and my use of it is nowhere near perfect, so after getting trimming off the excess cloth i went around with a hammer to make sure all the staples where in completly.
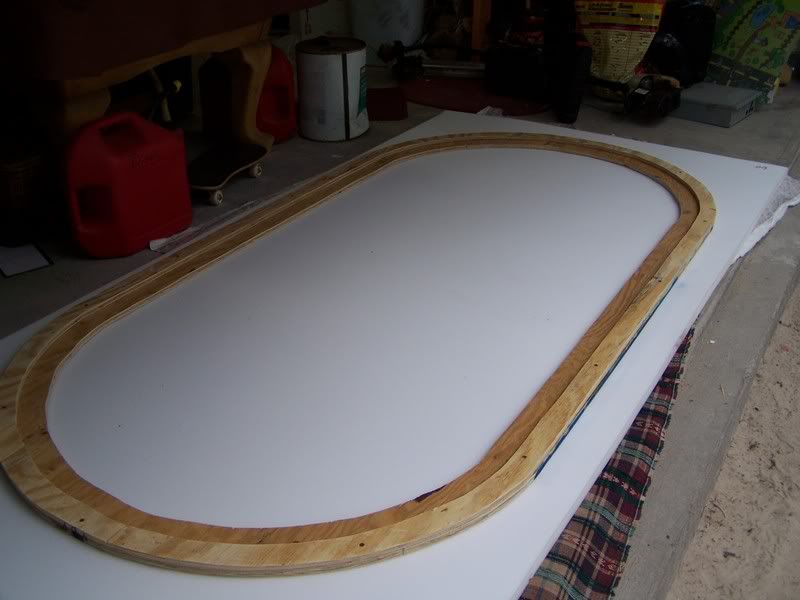


Now time to foam the rail. All i did here was mark out 2 dots at either end on the foam, had the wife help me flip it over onto the saw horses, put on the spray adhesive and flipped it back onto the foam.. Then let is sit for awhile to dry..
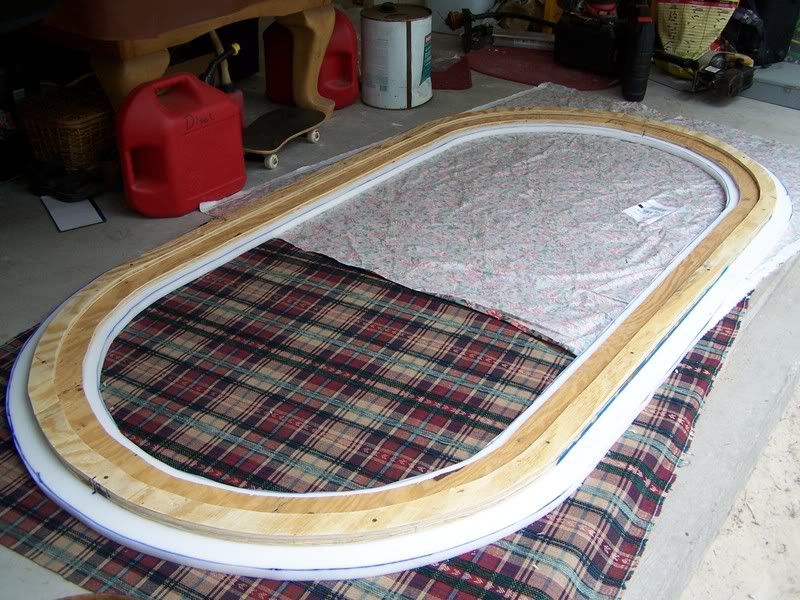


Next , trim off the excess foam. I measured 1" around the inside, and 2" around the outside.
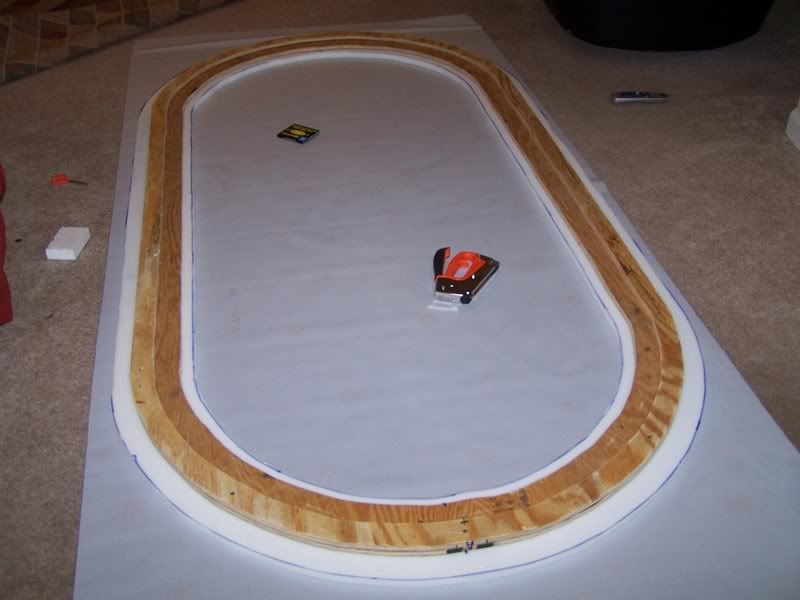


This is probably the most time consuming part of the whole process. I could have never got this done without the wife's help. Lots-O-Stapling and pulling.
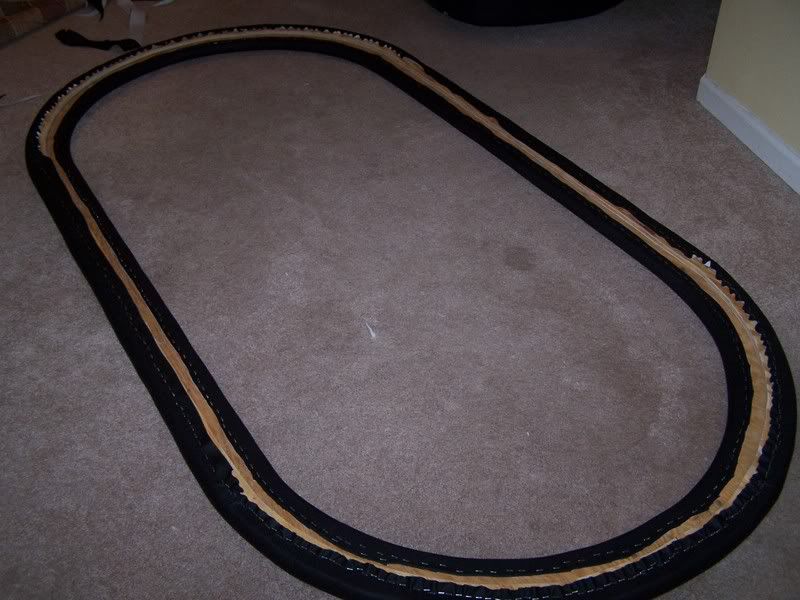


30 min later, and after trimming off the excess...


A finished rail. Damn I love how smooth this turned out..
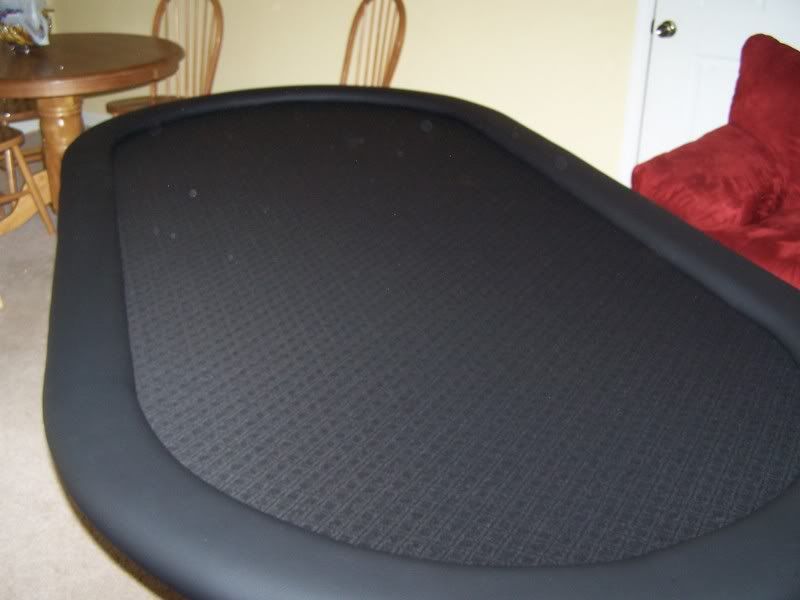


A Finished table. This one turned out much better than the first table.
One thing that i did'nt take a pic of is to secure the rail to the table, i bought some steel plates called mending plates. Using those helped pull the rail tight against the playing surface. And thats about it, Now it will be taking down to the Sunday Game.. whahooo!

Thursday, October 5, 2006

Here Comes the weekend..

Well, even though the table turned out great, I ended up selling it to willies the same day i finished it hehe Guess they really liked it too! Witch is awsome, I'm very happy it turned out so good, and at least i'll still get to play on it every Sunday :) I Think the one i build for the house will be much smaller maybe for 6 people and i'll probably put a race track on it with cup holders... will probably also just make it a table top for an existing table. Another project I'd like to get started is my custom desk for my office. After building the poker table, it insipred me....The rails of the table have 1inch foam covered in vinyl, it make the table very comfortable, and since i spend roughly 60hrs a week at my desk it could make life somewhat nicer.. Anyway thats lower on my project list hehe.. Still have to finish concreting the front porch, build my well shed, oh yea and move the driveway about 10feet away from the house... No shortage of honeydo's here. lol ..

Sunday, October 1, 2006

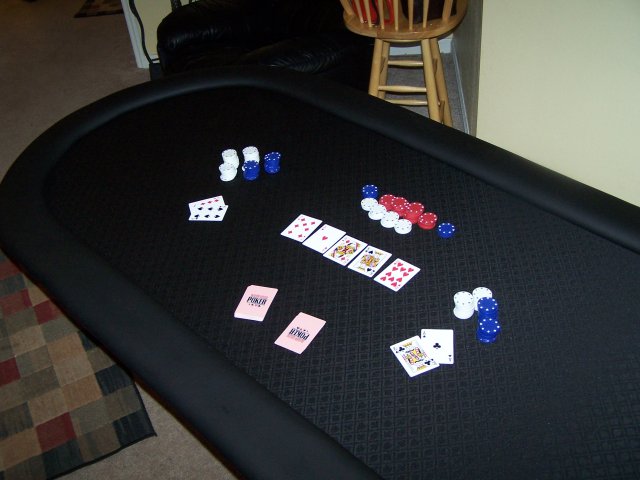
Poker Table done!


Well , I finished my poker table project today. Here is a pic of it.. Turned out pretty darn good in my opinion :) Now to find out what they think of it tomorrow at the game..

Thursday, September 28, 2006

Poker...

Found out that it's actually pretty fun. Started going to the game they have around here Sunday. Actually not doing too shabby if i do say so myself. I'm finally getting out of the house some and getting to hang out with some pretty cool people. Actually it's got me motivated too. Decided that in order to truly enjoy the game we need a poker table :) and since i had some scap wood around and found some excellent sites with information mainly this one or just google "make poker table". I'm going to call mine the poor mans poker table. The plywood i have is only 1/2 inch and it's been leaning against the house for the past year or more, but we shall see how it ends up. Will post some photos when its done. Right now it looks like shit, plan to cover all that up with cloth and vinyl hehe. On another note, No Hurricane so far.. knock knock... hopfully that will continue to be the case and we can really start enjoying the cooler weather we are having. Simply fantastic.. I love this time of year... Have a great day/evening i'm off to enjoy the night air with a nice campfire to boot.. Later.