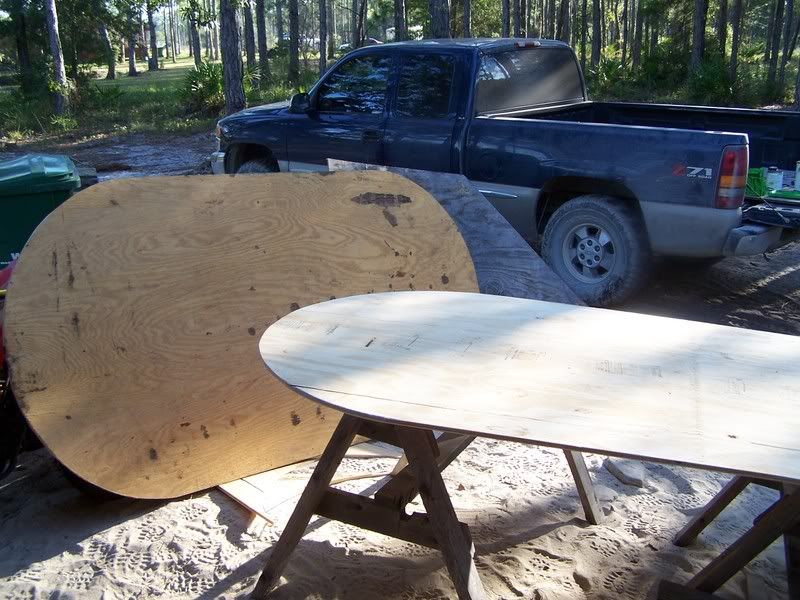
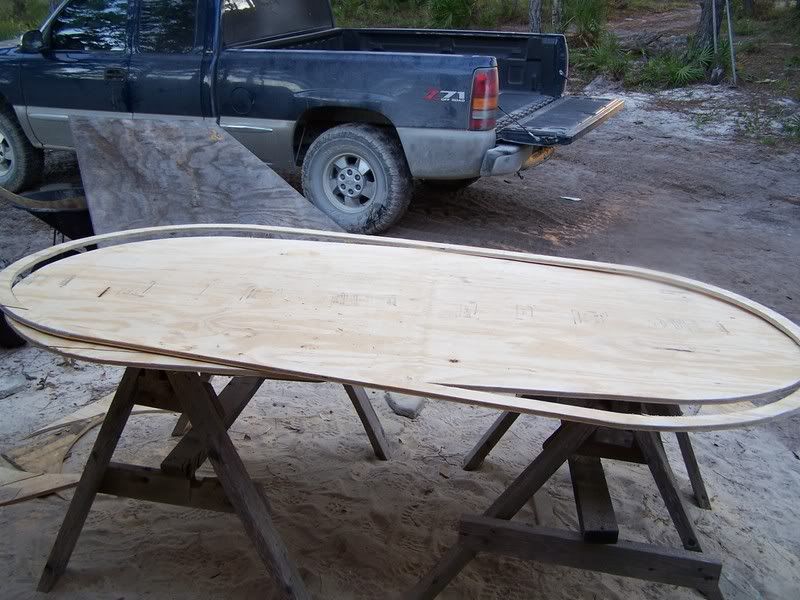
Nothing too hard here, just rounded the corners off.
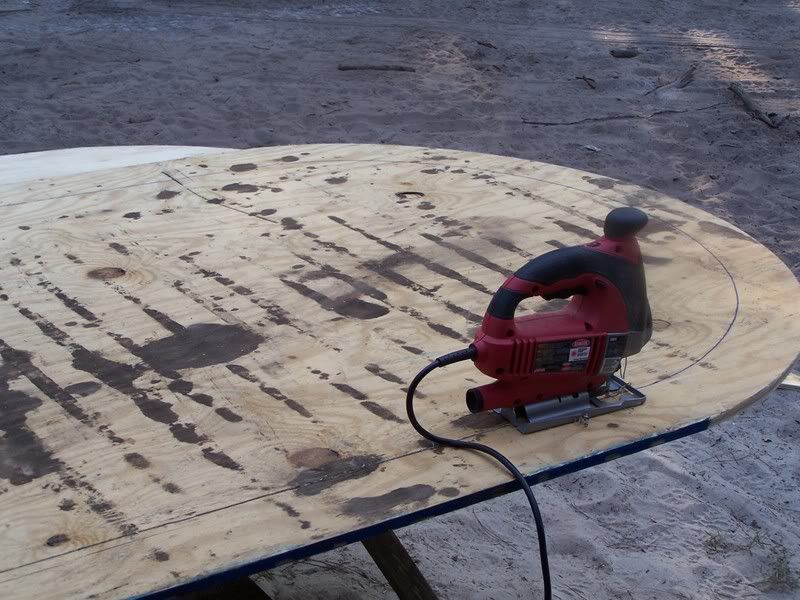
Cutting out the 4" rail from what will be the bottom part of the table. This will be the one that also gets the folding legs attached to it.
Cutting out a 2" rail out of the playing surface, this will mount to the bottom of the 4" rail so it will fit perfectly to the playing surface later. Most others have only cut this 1", This seems crazy to me. why cut only a 1" rail? It's going to be way to fragile, you'll have to glue it to the 4" rail, and you know it's probably going to break on you. Instead I cut this 2", your not going to loose any play area since its covered anyway, plus #6x1" drywall screws hold it perfectly, and i don't have to wait for glue to dry.
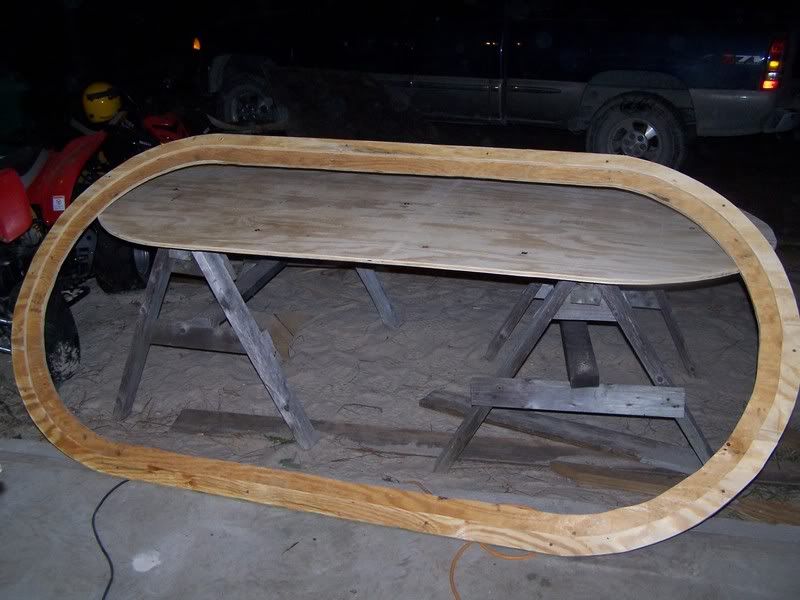
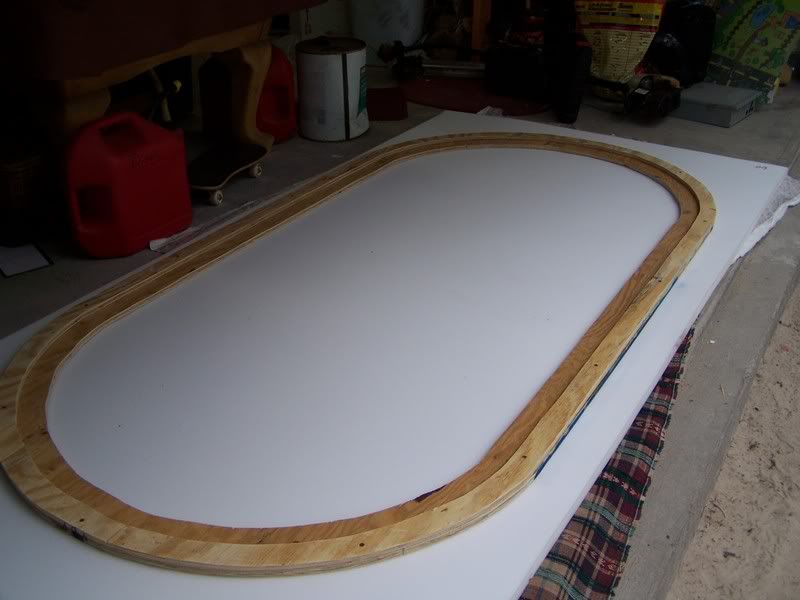
Here is the assembled rail..
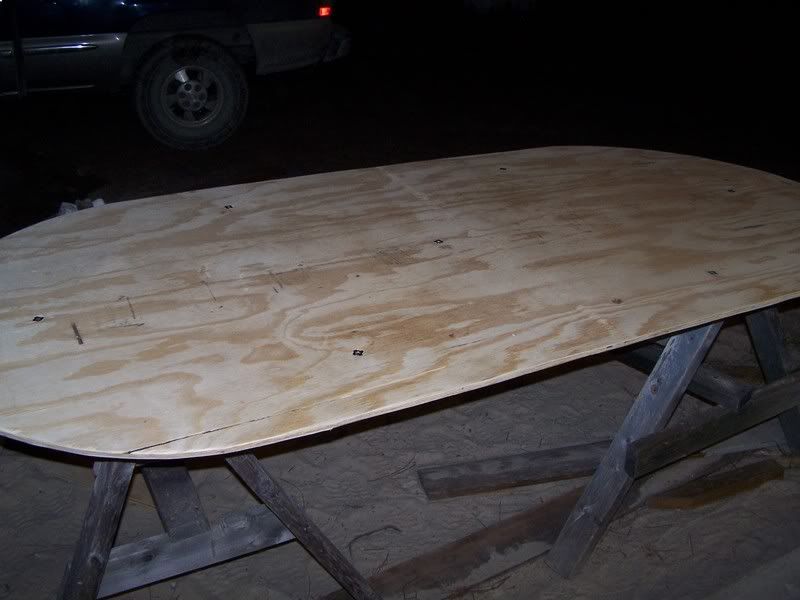
I went ahead an from previous experience found it better to go ahead and mount the T-nuts to the bottom half. This way it pulls them flush agains the playing surface. In my first table until i mounted the playing surface there were bumps in the cloth. This eliminated that and I was pleased with the results later.
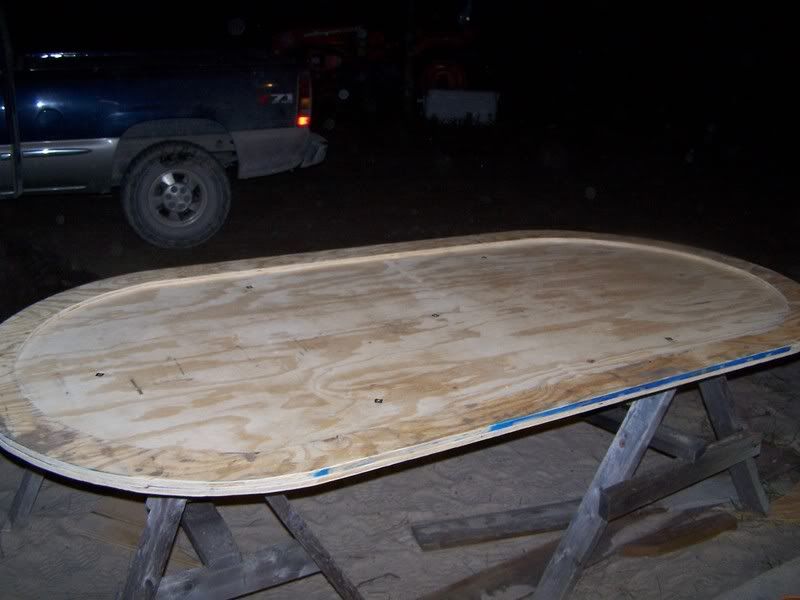
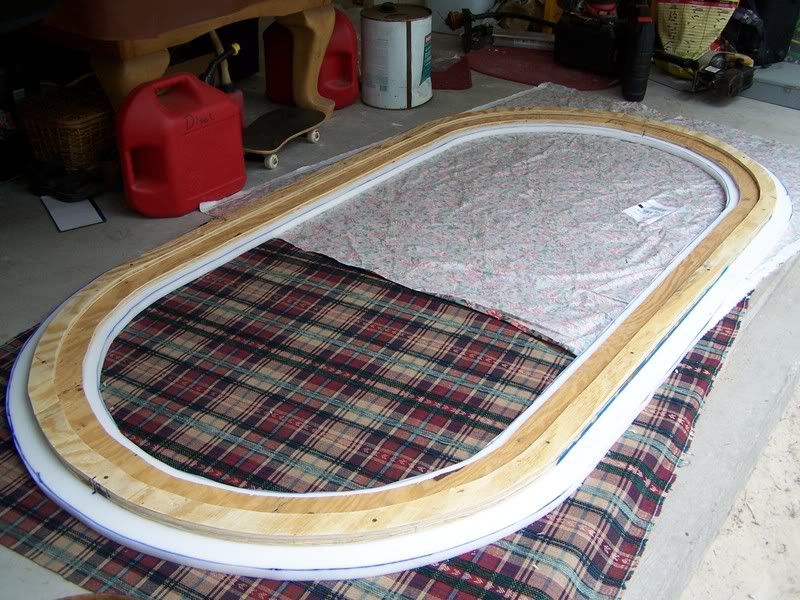
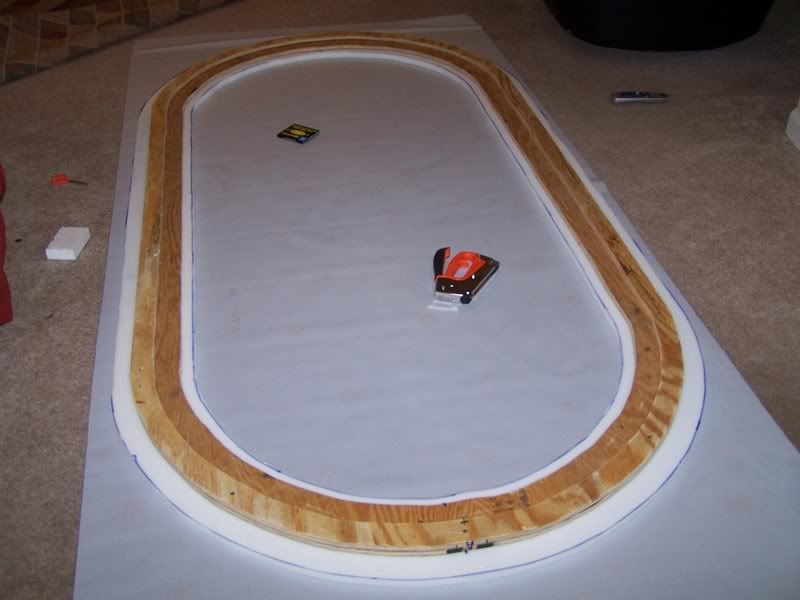
Testing the fit of the assembled rail and playing surface. Also took a moment here to mark one side so i would know witch way to put it on later.
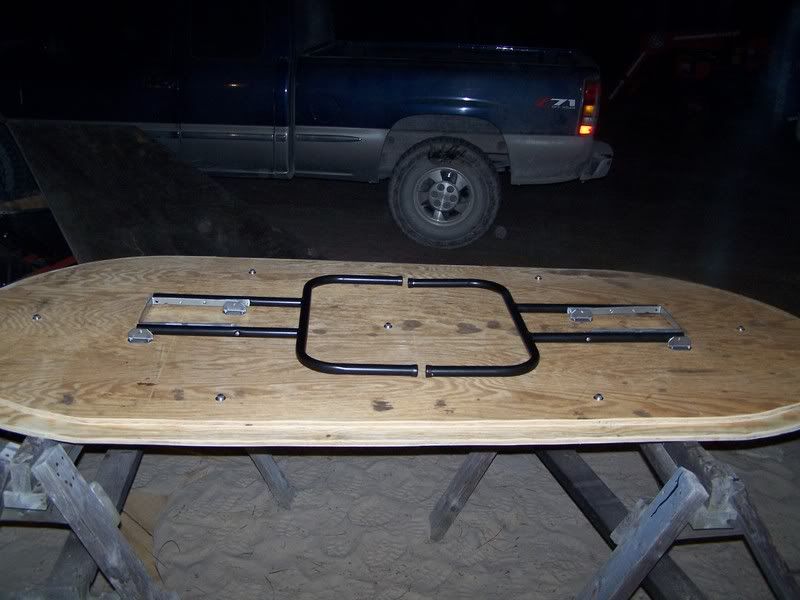
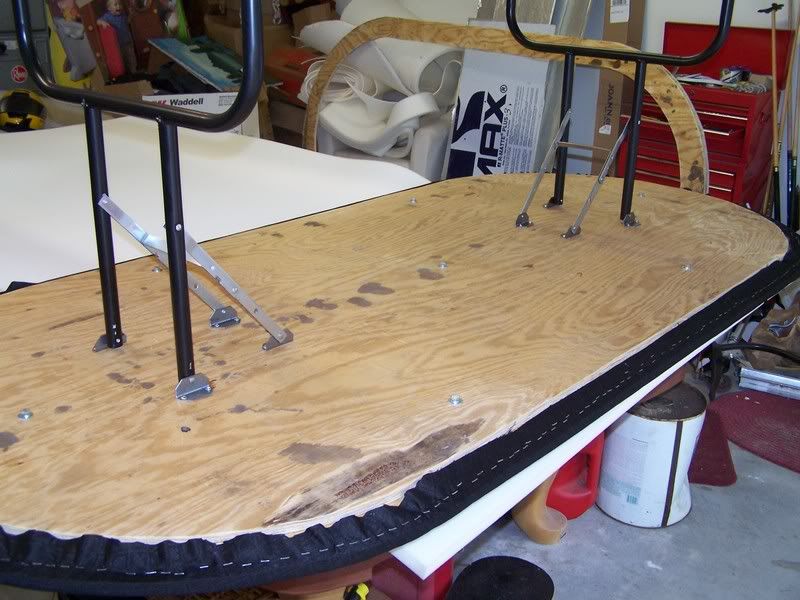
Mounted the folding legs to the bottom half.
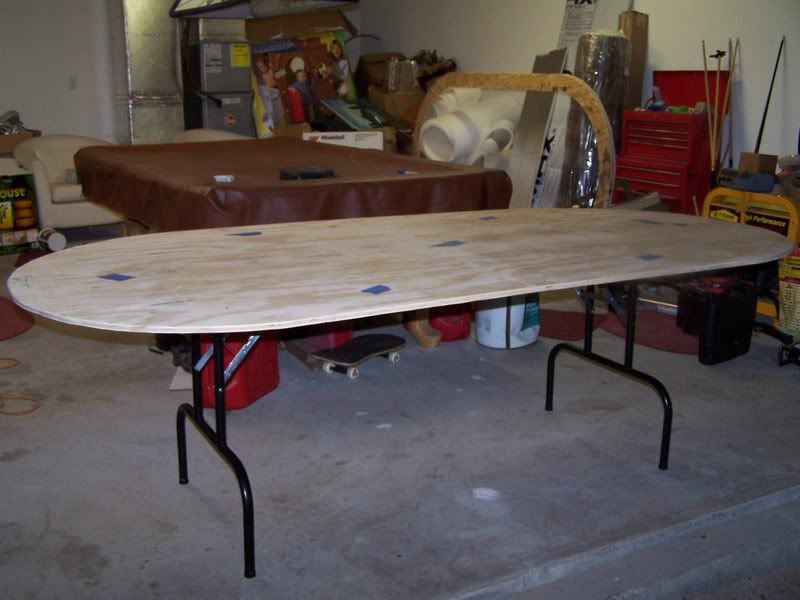
Whahoo, it's now standing on its own 2 legs.. haha.. Next up.. foam, but before that I took some masking tape and covered the T-Nuts. This will help keep it slightly smoother, and keep the spray adhesive from getting on the bolts.
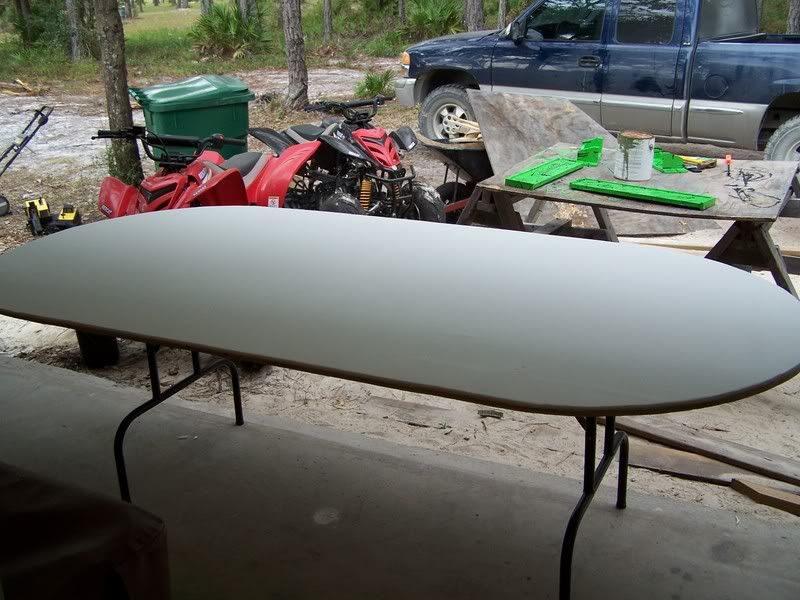
Foam Cut and ready for the cloth. Again this process it pretty well documented by others out there.. Just layout the foam, lift one side, spray down the adhesive , roll foam down working out the bumps, then repeat on the other side..
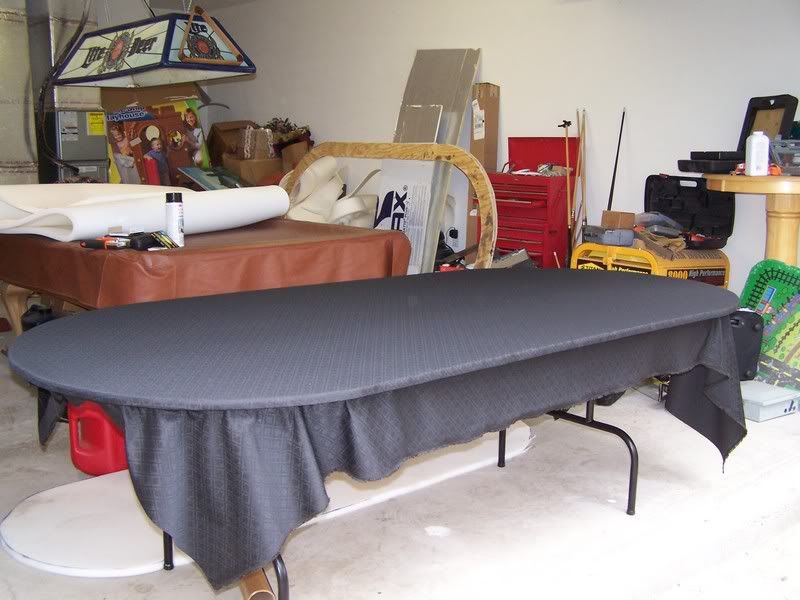
This was pretty easy, even for one person. I started on each side in the middle and just worked towards the curves. Then once on the curves I started in the center of the curve, then split that in half and worked backed towards the center. You don't have to really pull it tight, just keep the creases out and it will be nice and snug when your done.
Cloth finished and trimmed. Dunno about other people, but my stapler and my use of it is nowhere near perfect, so after getting trimming off the excess cloth i went around with a hammer to make sure all the staples where in completly.
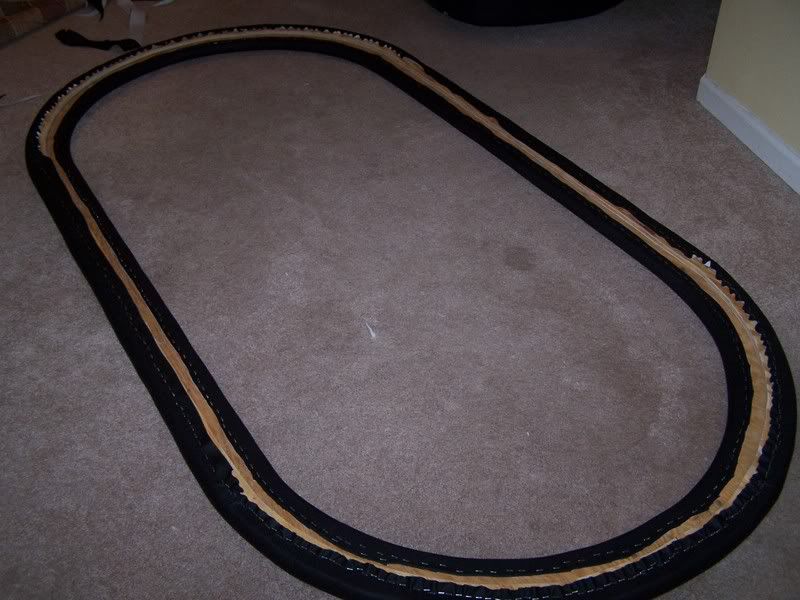
Now time to foam the rail. All i did here was mark out 2 dots at either end on the foam, had the wife help me flip it over onto the saw horses, put on the spray adhesive and flipped it back onto the foam.. Then let is sit for awhile to dry..
Next , trim off the excess foam. I measured 1" around the inside, and 2" around the outside.
This is probably the most time consuming part of the whole process. I could have never got this done without the wife's help. Lots-O-Stapling and pulling.
30 min later, and after trimming off the excess...

A finished rail. Damn I love how smooth this turned out..
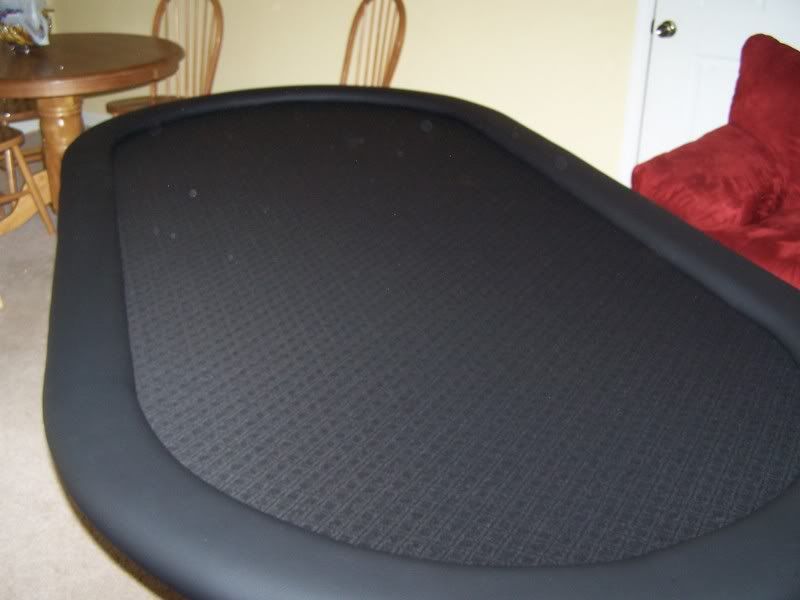
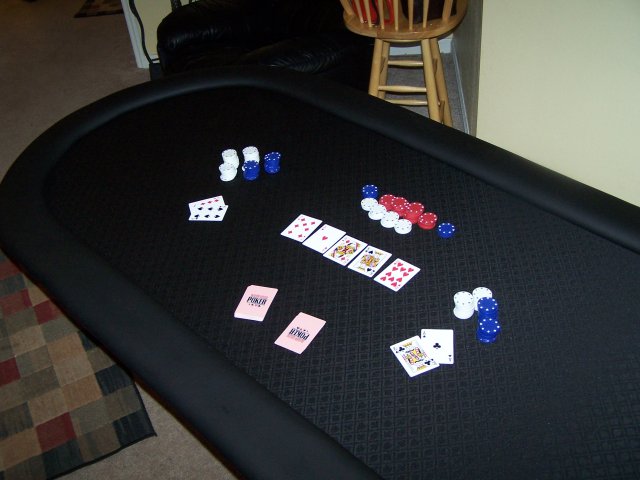
A Finished table. This one turned out much better than the first table.
One thing that i did'nt take a pic of is to secure the rail to the table, i bought some steel plates called mending plates. Using those helped pull the rail tight against the playing surface. And thats about it, Now it will be taking down to the Sunday Game.. whahooo!